Hello there, craft-mates!
Did you tune in last Sunday for our fall/winter craft together? If not, I would highly recommend checking out the replay in my Facebook Group! Here is the super cute craft we made!

This was the first time I asked my crafty friends to craft along with me, provided a list of supplies and even offered to prepare supplies for them to pick up prior to craft day if they wanted that option. This was a super fun craft though a few things were a bit challenging. As usual, I was winging it and I hadn't decided if I was going to make it a hanging craft or one I could put on a desk or shelf. Now that the craft is complete I think I'll pick up some small easels (Michaels has a 2 pack of mini's I believe) and see if that works. Because of the bulkiness of the bows it doesn't lay very flat when hanging. In the picture, the twine I used to hang it is temporary, for picture taking purposes! I am still brainstorming and always welcome to new ideas. Eh hem...please share your thoughts in the comments. I've temporarily stepped away from the scissors out of sheer frustration. You see what I did there?? Ha!
Ok, ok. First, our supply list (in case you want to make your own!)
~11 1-gallon paint sticks ($.98/10pk at Lowes or Home Depot!)
~Chalk paint: white, brown, ivory or similar (couldn't find ivory chalk paint so used acrylic for that one!), black, pink, yellow and blue if you want eye color on your fall/winter fellas face. Those accent colors can be acrylic too, or multi-surface.
~Ribbon: I used 8 different ribbons, a couple of which were strips of fabric because it was cheaper than a roll of ribbon. I didn't measure the strips, but a 4' roll of each would be sufficient, I think. I used different sizes as well. You can look at the picture for reference.
~Snowflake embellishments. I found a bag of these for $2.99 at Joann Fabrics. They are buttons! Super cute!!
~Twine
~Burlap. I only used a small piece of this to make the patches on the scarecrow's hat.
~Raffia
~Small box frame. I found this at Hobby Lobby. It was $2.99 with 40% off so I couldn't resist!
~Small fall embellishment. I only used a small piece for the box frame.
~Cardstock. I used a very small piece of paper for each side of the box frame and wrote the words with sharpie and paint pen.
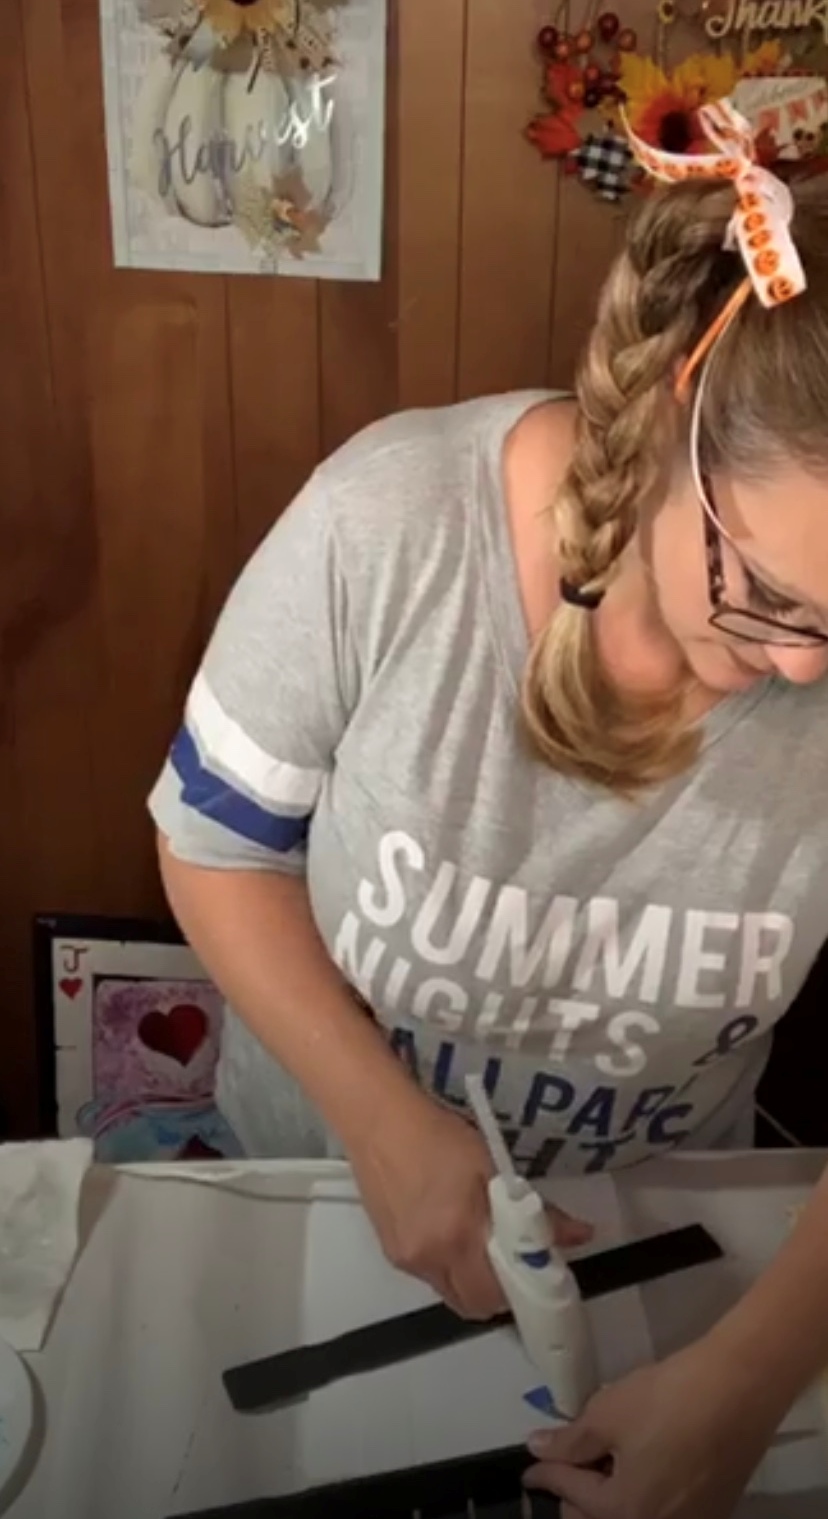
~Glue. I used a very small amount of wood glue to help secure the paint sticks. Everything else, I used a hot glue gun and glue sticks.
I got this idea from several pictures I've seen of people making them out of the paint sticks on Pinterest and in several Facebook groups. In super crazy Sambo style, as usual, I didn't watch any videos on how to do it, I just winged it and figured it out as I went. This is probably why I'm having a hard time trying to figure out how to hang it now. Why must I do this?? Girl, get it together!!
First we needed to decide how many paint sticks to use. And before I show you a picture of that let me just say that I always try to make my videos fun because I am terrible at making them short. In this live video I wore my hair in braids, using ribbons to match fall on one side and winter on the other. I can't even take myself seriously so I don't know how any of you will either. But I promise, I tried to make it fun!! I laid out the sticks to see what I liked better, 6 or 7 across. I decided on 7 because I wanted a chubby look. We also used two paint sticks on each side for the brim of the hats.


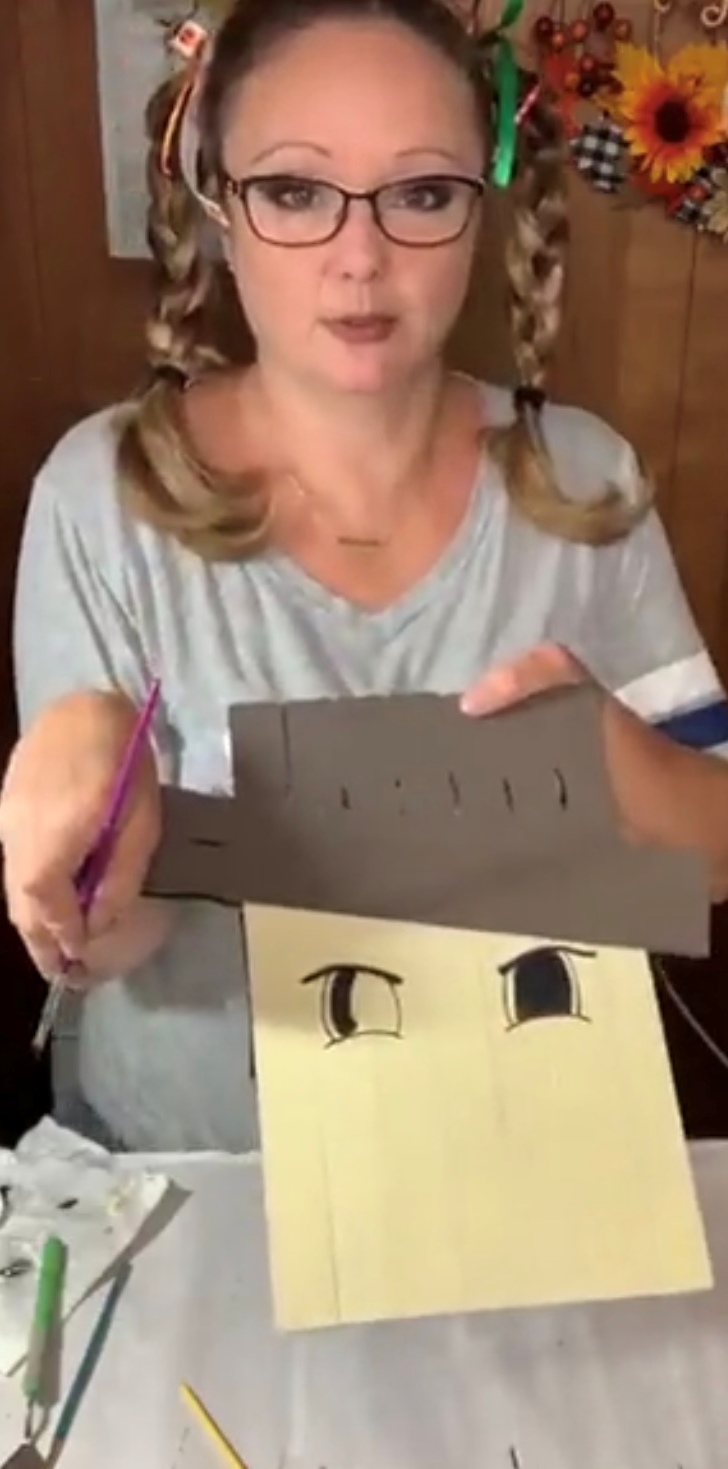
In hindsight, I should've used the wood glue to help stabilize the 7 sticks BEFORE I painted. However, I made it work! For the bottom of the snowman (his face) I used white chalk paint. I kind of laid out the sticks to see where I wanted them and then left a small amount of unfinished wood (I didn't paint over the whole thing on purpose). I did this on the fall and winter side so that when I went to glue down the brims, they would adhere better. That's just what made sense in my head. It may not even matter! Then I painted the top half (the hat) with black chalk paint. Once I did that I flipped it over and painted the scarecrow (face) ivory. Have you been shopping for craft paint lately? Because I have and it is TOUGH to find the right colors right now! (Thanks COVID!!) The ivory was not chalk paint, just acrylic. So fingers crossed it holds up as well. I used a brown chalk paint for the scarecrow's hat.


I adhered the hat brims at an angle with hot glue after eyeballing it for a minute for the angle that tickled my fancy. I made the upper part of the brim a hair longer than the bottom to leave room for the bow. I was not taking into consideration the size and weight of the bow at this time so when it was all finished I had that 'oh poo' moment when it wouldn't hang straight or lay flat against the wall. Oops. Guess I should've made the bows smaller and flatter!
I use a heat gun to speed up the drying process a little. OH! And don't forget to paint the edges of your sticks!! That was a close call! Guys, I can't get through a live without making a million goofy faces. So it's pretty evident that I'm having a blast!


The Scarecrow face was a little tougher because I started the top of the eye, at the wrong angle, and made the poor guy look angry! Oops! But we fixed it right up but thickening the line and redirecting it. For the nose I decided to do a candy corn and it turned out so cute you guys!! I accented that at the end too. It helps to define the nose from a distance so it doesn't get washed out. There were a dozen different ways I could do his mouth but I stayed with the general theme from the snowman side and just added some slashes and x's to complete the scarecrow look. I'm pretty pleased with his adorable little face too!


I decided to put a red band on the snowman's hat and I painted it because I didn't have ribbon wide enough for what I was looking for.


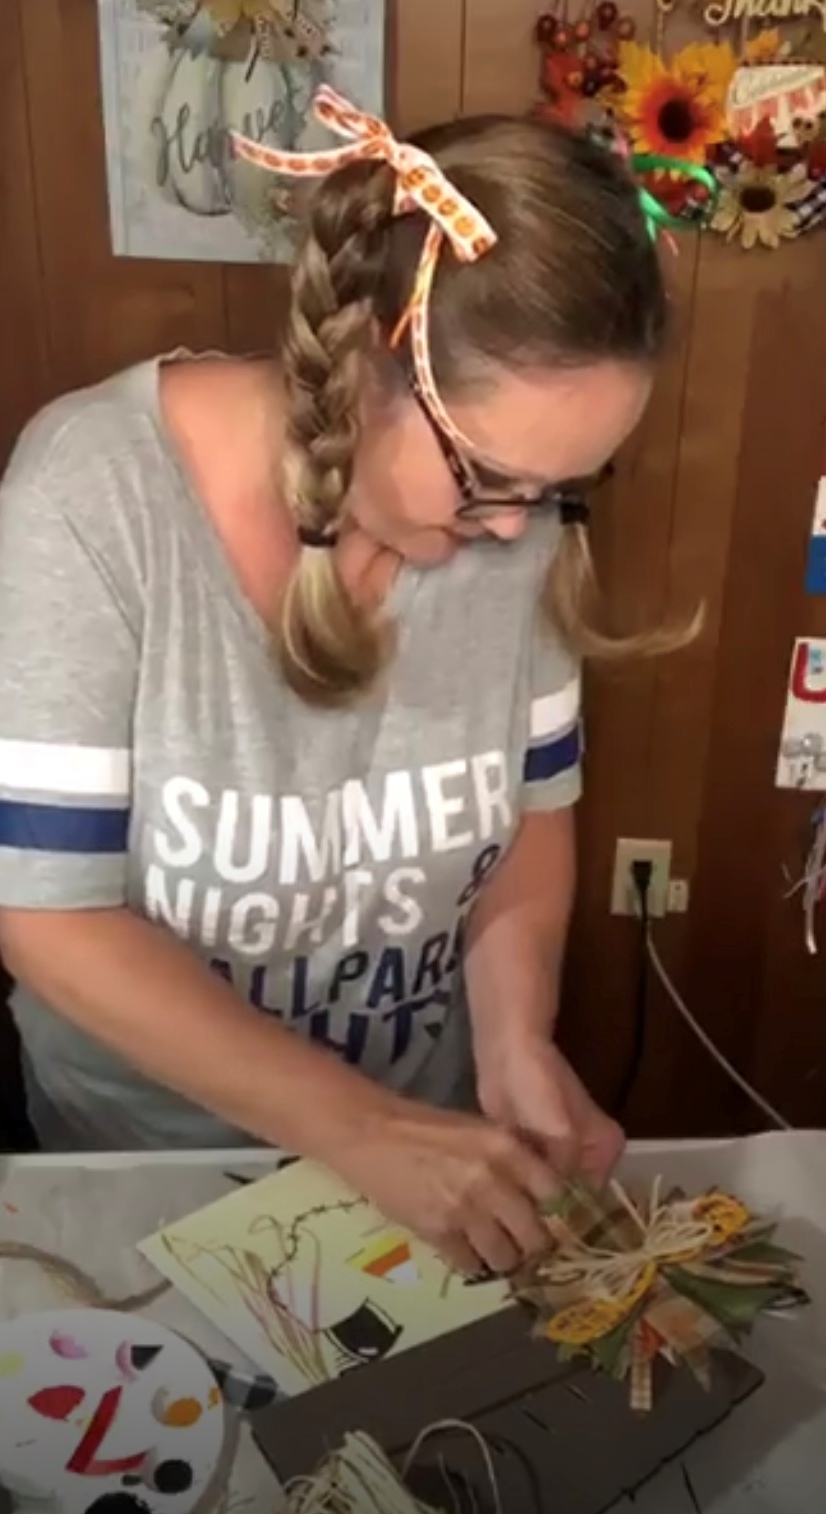
This is where the hiccup started. I wanted so bad to do a messy bow on one side and a cute bow on the other and I'm really bummed about the hanging issue. I did the messy bow for the scarecrow side using a cute pumpkin ribbon, some checked burlap, a fall leaf ribbon, a green burlap accent ribbon and a small orange buffalo check for accent as well. Then I put a little raffia bow in the center because I didn't have any fall embellishments that I thought would look cute there.


When I started the bow for the other side I couldn't figure out why my glue gun wasn't working. I panicked thinking I broke it when I dropped it a few minutes before. Then I realized it had just come unplugged again. Story of my life, people.

For the snowman bow I used black and white buffalo check ribbon, red ribbon and a piece of satin ribbon from my wedding back in 2003. Yep, you read that right. You see, you have to improvise when you go live with these things. I had a cute roll of HO HO HO ribbon that my mother in law got me for my birthday (love that she supports my craftiness!). It was red with white letters. Well when I unrolled it I discovered that the red was not part of the ribbon! It was just tissue paper! So the ribbon was just the white HO HO HO letters and oh my goodness is it CUTE!!! But I wasn't using that in my bow, so that's where the satin substitution came in. This was a lot simpler bow so it didn't take as long. However, the satin is a little harder to work with than your average ribbon so it's not as 'clean' as I'd like. Next time I'll be sure to have a good white ribbon. And by the way, after I finished the craft I found some cute white ribbon in my Christmas stash so I may redo that bow!


The live ran over 3 1/3 hours and I don't know if my internet gave up on me or if FB decided I was too long winded. So the little box frames were the last step and unfortunately, not on camera. I just painted it white on one side and ivory on the other, lined it with a ribbon to match whatever side was showing (winter/fall), added a little hand written card stock paper sign and a little embellishment for each side. It's cute with or without the sign but I had to get it when I saw it for $2.99 (plus 40% off). Ha!
This was a really fun craft and it turned out so cute! Don't you think?? As usual, some lessons learned for next time and hopefully we can cut the time down a little. I'm a little OCD, a little perfectionist, a little never satisfied, so it is SUPER hard for me to just stop when I'm crafting. It's like I have 3 new ideas per minute and I can't make up my mind. Ha! I'm really loving this one and I can't wait to make more! I may even attempt some smaller ones as well.
Thank you for stopping by my blog today and taking the time to read about this little adventure! I hope you liked it and I hope if you make one of your own you'll stop by my Facebook Craft Page and share some pics! I love seeing how crafty you call can get!
Don't forget to subscribe to this blog so you can get notifications when I post about my newest craft adventures! I would absolutely love for you to share this and my craft page with all of your crafty friends and family as well! You can do that by clicking any of the links at the bottom of this blog for your email contacts and your social media platforms, like Facebook, Twitter and Instagram. Thank you, again, for supporting me and all my crazy crafty ideas!! I can't wait for the next adventure!

No comments:
Post a Comment