Showing posts with label crafting. Show all posts

Monday, September 14, 2020

Clouds in my crafting paradise

Hello crafters, friends, family and otherwise curious pals! I hope you are all enjoying the cooler, crisp air we've been feeling in my slice of the world. I don't know about you but I am so ready for fall!! Don't get me wrong, I love summer!! I really do! But after all the 90+ days the last few months I'm looking forward to cuddling up in front of my Cricut and my Mac and finding my happy place.  


Here we are, in the middle of a Pandemic, trying to navigate this very new, very strange world we are all living in, approaching the cooler weather and trying to figure out how we are going to thrive in such a challenging life. One of the things that has helped me keep on trucking and not let fear, stress, worry and doubt take over, is crafting. I still work my regular job. I still have routines to maintain. I still stress and worry.  But I also know that I can't give in to these things.  And while the pressure is mounting with all the craziness in the world, I find myself struggling to stay motivated. 

Back in April I got this crazy idea that I was going to start crafting more, share those crafts and all that inspiration with the world and try to figure out how to make that crafting adventure into something much more in a years time, or less.  That was the goal. I was diving in head first with no regrets.  I still have no regrets.  But I'm kind of in a funk and not sure what to do about it.  

They say we are our own worst critic, and I know you've heard me say that a dozen times in my live videos, blog posts and on my Facebook Craft Page. Well today, I woke up and felt the weight of the crafting world upon my shoulders.  Maybe it's compounded by other things, like the pandemic, online schooling challenges for my 7 year old, guilt about not being able to be there with him as he navigates that brand new world, worrying about my stressed out husband, wanting more than anything to get out of our current living situation and move out to a more country atmosphere, dwelling on my 21+ year career that I fear is holding me back more than helping me, and so many other worrisome thoughts.  Or maybe it's because I haven't taken a big enough leap.  Whatever the culprit, I'm all up in it today, folks. 

I went back through all of my blog posts about the crafts I've done, all the way back to April when I decided to dive right in.  I even re-read my first few posts from many years ago.  Maybe I thought I'd be somewhere else at this point, 5 months later.  I don't know. But I can't help but feel like I'm wasting my time lately.  I love to craft. I will always love to craft. And part of me STILL wishes I could craft all day every day because I love it so much.  But reality is biting hard today.  I love every single crafty thing I've created.  I can look at them and remember the feeling I had while I was crafting it.  And for me, that's where 1/2 of my love of crafts lies, in the making. Not necessarily in the results. I went into this thinking I could teach other people something, inspire people, open hearts and minds.  And in the meantime I'd be creating not just cute little crafts but pieces of my heart that I could share with others who were looking for some crafty inspiration. When I looked back at the crafts I've done in the last 5 months, I smiled at every single photo and relived the moments as I read my entries about how I made them.  I LOVE crafting, guys!! So why do I feel like my crafts have been so mediocre?  People who love me and encourage me regularly tell me how cute they are and how I should sell them.  And ultimately, that's what I want to do.  But the goal for this particular juncture in crafty time was to hone my craft, figure out what direction I wanted to go, what I'm really good at and take THAT to the bank. I look at my crafts with my uber critical eyeball and find every single flaw, every mistake, every embarrassing moment I encountered while making it and hammer my crafty hopes and dreams right into the ground. Why do I do that to myself?? 

I think I need to drink less coffee, if I'm being honest.  

I'm going to work really hard this week to get out of this funk and draw up some plans.  I've not yet found my niche and by no means is this me giving up. I'm going to spend the next couple months coming up with some ideas and I will undoubtedly call on my crafty pals for some encouragement, ideas, support and critique. So buckle up, crafty capers! This girls on a mission!! I'm going to draft some ideas for Sambo's Crafts as well as researching how to get an Etsy page started. I don't know if Etsy is the way I want to go.  In fact, I have no idea what I'm doing, if you haven't figured that out yet. What I do know is that I need to figure out where my passion really lies and THAT is going to take a LOT more adventure!!  

Garage sale season is upon us as well so I'll be looking for things I can use, like old windows, glass bottles, and other useful crafty materials.  If you're the adventurous type, watch for posts about dates to go sale-ing and maybe we can go together! I'll be inquiring about your crafty adventures more too!  As always, please comment, like, and share my blog posts and my Facebook Craft Group page, Sambo's Crafts with your crafty pals as well! I'm so, so grateful for all of your kind words, encouragement and support!!! 

The crazy universe and chaotic world we live in will not stop my crafting adventures! But I can't promise they won't catapult me right into some shenanigans!! Thank you for being you and for supporting me!! I really need to get out of this funk!!! 


Friday, September 4, 2020

Cowboy Wreath

 A Friday Two-fer!! Ha ha! Hello again guys! There's a long, holiday weekend ahead and I'm hoping to get MORE crafting in so I wanted to give you all the details of the Cowboy wreath, since I didn't do this one live.  Once again, I may change it up. But here is what I have for now.


I have been seeing these adorable cowboy wreaths on Pinterest and Facebook for a while and wanted so bad to make one!  I've really only attempted a wreath one time and it wasn't anything like this. In fact, it was completely different. It was for Halloween (hint: future craft will entail recreating this particular Halloween wreath, so stay tuned!).  I knew it would be challenging and more importantly that I'd have a hard time deciding what I wanted to do, so I did not do this in a live video.  I stretched it out over a few days and spent approximately 7 hours creating and recreating until I finally settled with this! 

I used a wreath form from the dollar tree, fabric (in place of ribbon because it's cheaper), one roll of burlap checked ribbon, a roll of lace ribbon, raffia, flowers, some other sprigs and embellishments, a 'blessed' sign, burlap, an old pair of my sons size 6 pants, pipe cleaners, a straw hat and some twine. 

I started by assembling some bows and gluing a flower in the center (You'll see the flowers in the finished product photos).


I tried to do a little math, which is really unlike me when I'm crafting, to make sure I'd have enough ribbon/material to make 8 bows.  I think I cut the material and ribbons about 8" each, or so.  After cutting the ends they are probably closer to 6". Before adding the flowers, I attached the bows to the wreath form with pipe cleaner.  My brain was going in a million different directions as to how I would fill the gaps. I didn't want to use mesh.  I didn't have enough ribbon to make more bows unless I changed them up and I didn't want to overcrowd with the bows and not have room for the other embellishments.  Which would also cause me to cut and waste a lot of ribbon. So I stuck with the 8. 


I don't know if it was because I was crafting in the evening after long, crazy stressful days at work or what, but I couldn't make up my mind on anything with this craft! Every idea I had and tried, pretty much failed and I was ready to give up a dozen times, at least.  I wanted cotton stalks. I wanted wheat stems. I wanted lots of burlap. I even wanted to add a lasso but ditched that idea because it was just too much in the end.  After adding burlap all the way around in one long piece, which took over an hour, I removed the whole darn thing and cut all that burlap into strips.  I made a little messy bow type things out of it and added that all the way around to fill in the gaps.  I wish I'd made the blue buffalo check ribbon under the flowers longer so it was more visible.  I wish I had more ribbon, something off white and wide with a wire.  I wish I'd used only lighter colored flowers.  I wish I had used a different color pipe cleaner.  And I wish I'd bought a bigger wreath form.  Regrets aside, I love the color scheme and I'm not completely disappointed with the outcome.  There's still room for improvement, for sure.


I cut the jeans shorter hoping to make the 'cowboy' appear to be smaller but I hung the jeans too low. If I'd hung them higher so the groin section of the jeans didn't show so much, they would've looked better, I think.  By the time I realized that there was way too much going on and I couldn't change it.  I hot glued some raffia inside the pant leg before tying it off with a piece of twine.  Then I tied 3 pieces of ribbon around it and made a bow with each of the 3 different colors/patterns. 

The hat was the part I had the most fun with! I couldn't find a 'cowboy' hat the size (or price!) that I wanted so I made one out of a straw hat from Michael's.  I used floral wire to secure it and even a dab or two of hot glue. Hot dang! It looks like a cowboy hat now, eh?! Ha! Close enough!


I wanted it a little off center. I'm really not sure why.  I just had this sort of nagging thought of making it 'my own' by not being symmetrical with everything and just going with my gut and winging it. How's that for an explanation!? I added some burlap patches to the knee, a few pieces of tied up raffia throughout the wreath as well as some wheat stems, cotton stalks and little round, stemmed embellishments in white and blue.  You know, splash of color?  I don't know but it sounded like a cute idea.  I secured the hat in a few places with twine.  I had to use my handy dandy pokey tool to make a little hole because the wicker (or whatever that's made of) wasn't cooperating with my weak little piece of twine. But she's secure now! In the end the only thing that I didn't care for was the empty space on the top left side. I wouldn't have had this problem if the wreath form was bigger.  I couldn't go all the way around with the ribbon/bows and flowers because the hat would've just covered them up.  I didn't want anything under the hat so this made it look kind of bare and empty on that corner.  I grabbed my little 'blessed' sign after tripping over a plastic bag handle and nearly killing myself on the corner of my craft table, catching myself while accidentally knocking that sign to the floor. So that sign...was a 'sign' and therefore became a necessary part of the craft. 

All in all it really didn't turn out bad at all.  It's cute.  And as always, there's room for improvement.  Never be afraid to try new things.  And don't dwell on mistakes.  Almost everything in the crafting world can be fixed, changed or replaced. Part of the joy of crafting is learning.  If you saw the mess I created in the first couple hours of this project I think you'd be shocked at how it turned out! Ha!! 

Thank you so, so much for stopping by my blog today and sharing in my adventures! Don't forget to subscribe so you don't miss any updates or new blog posts! Stop by my Facebook Craft Page for more crafty fun and be sure to invite your friends to do the same! I would love to see more craft people joining in on our live adventures and sharing their own crafty ideas!

Until next time, crew.  Have a wonderful holiday weekend and HAPPY CRAFTING!!!!


Reversible Fall/Winter Craft

 Hello there, craft-mates! 

Did you tune in last Sunday for our fall/winter craft together? If not, I would highly recommend checking out the replay in my Facebook Group! Here is the super cute craft we made! 


This was the first time I asked my crafty friends to craft along with me, provided a list of supplies and even offered to prepare supplies for them to pick up prior to craft day if they wanted that option.  This was a super fun craft though a few things were a bit challenging. As usual, I was winging it and I hadn't decided if I was going to make it a hanging craft or one I could put on a desk or shelf.  Now that the craft is complete I think I'll pick up some small easels (Michaels has a 2 pack of mini's I believe) and see if that works.  Because of the bulkiness of the bows it doesn't lay very flat when hanging.  In the picture, the twine I used to hang it is temporary, for picture taking purposes! I am still brainstorming and always welcome to new ideas. Eh hem...please share your thoughts in the comments. I've temporarily stepped away from the scissors out of sheer frustration. You see what I did there?? Ha! 

Ok, ok. First, our supply list (in case you want to make your own!) 

~11 1-gallon paint sticks ($.98/10pk at Lowes or Home Depot!)
~Chalk paint: white, brown, ivory or similar (couldn't find ivory chalk paint so used acrylic for that one!), black, pink, yellow and blue if you want eye color on your fall/winter fellas face. Those accent colors can be acrylic too, or multi-surface.
~Ribbon: I used 8 different ribbons, a couple of which were strips of fabric because it was cheaper than    a roll of ribbon. I didn't measure the strips, but a 4' roll of each would be sufficient, I think. I          used different sizes as well. You can look at the picture for reference. 
~Snowflake embellishments. I found a bag of these for $2.99 at Joann Fabrics. They are buttons! Super    cute!!
~Twine
~Burlap. I only used a small piece of this to make the patches on the scarecrow's hat.
~Raffia
~Small box frame. I found this at Hobby Lobby. It was $2.99 with 40% off so I couldn't resist!  
~Small fall embellishment. I only used a small piece for the box frame.
~Cardstock. I used a very small piece of paper for each side of the box frame and wrote the words with    sharpie and paint pen.
~Glue. I used a very small amount of wood glue to help secure the paint sticks.  Everything else, I used a hot glue gun and glue sticks. 

I got this idea from several pictures I've seen of people making them out of the paint sticks on Pinterest and in several Facebook groups.  In super crazy Sambo style, as usual, I didn't watch any videos on how to do it, I just winged it and figured it out as I went.  This is probably why I'm having a hard time trying to figure out how to hang it now.  Why must I do this?? Girl, get it together!! 

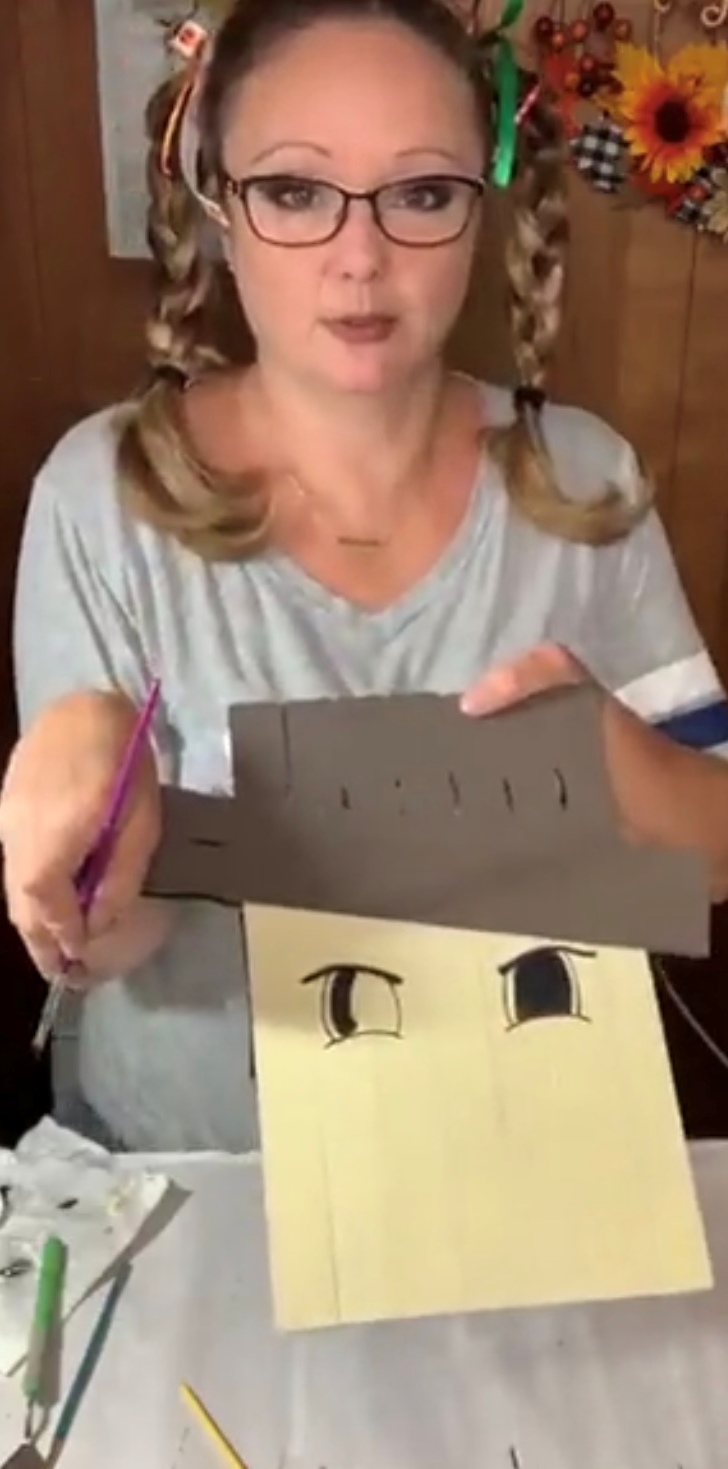
First we needed to decide how many paint sticks to use.  And before I show you a picture of that let me just say that I always try to make my videos fun because I am terrible at making them short. In this live video I wore my hair in braids, using ribbons to match fall on one side and winter on the other.  I can't even take myself seriously so I don't know how any of you will either. But I promise, I tried to make it fun!!  I laid out the sticks to see what I liked better, 6 or 7 across.  I decided on 7 because I wanted a chubby look.  We also used two paint sticks on each side for the brim of the hats. 


In hindsight, I should've used the wood glue to help stabilize the 7 sticks BEFORE I painted. However, I made it work! For the bottom of the snowman (his face) I used white chalk paint.  I kind of laid out the sticks to see where I wanted them and then left a small amount of unfinished wood (I didn't paint over the whole thing on purpose). I did this on the fall and winter side so that when I went to glue down the brims, they would adhere better. That's just what made sense in my head.  It may not even matter! Then I painted the top half (the hat) with black chalk paint.  Once I did that I flipped it over and painted the scarecrow (face) ivory.  Have you been shopping for craft paint lately? Because I have and it is TOUGH to find the right colors right now! (Thanks COVID!!) The ivory was not chalk paint, just acrylic.  So fingers crossed it holds up as well.  I used a brown chalk paint for the scarecrow's hat. 


I adhered the hat brims at an angle with hot glue after eyeballing it for a minute for the angle that tickled my fancy.  I made the upper part of the brim a hair longer than the bottom to leave room for the bow. I was not taking into consideration the size and weight of the bow at this time so when it was all finished I had that 'oh poo' moment when it wouldn't hang straight or lay flat against the wall.  Oops. Guess I should've made the bows smaller and flatter! 

I use a heat gun to speed up the drying process a little. OH! And don't forget to paint the edges of your sticks!! That was a close call! Guys, I can't get through a live without making a million goofy faces. So it's pretty evident that I'm having a blast! 


In my Facebook Craft Group I posted a photo of some hand drawn facial features to help people who had no clue how to do them.  I don't know if it was actually helpful, but I know that for me, I like to have inspiration I can look at when I'm doing something that's new to me.  I went with the 7 paint sticks so I wanted to make sure my faces were 'chubby' looking.  Wide eyes with cheeks so juicy they made their eyes squint kind of chubby! I think I hit the mark! However, that carrot.  Good grief that was close. Ha ha ha ha It looks like a carrot, so it's all good. I started out penciling in the shape of the eyes so people could see it before I painted it.  I went back and added some little details, which you'll see in the end. In the last picture here the light washed out his cute little pink cheeks but I swear they're there!!


The Scarecrow face was a little tougher because I started the top of the eye, at the wrong angle, and made the poor guy look angry! Oops! But we fixed it right up but thickening the line and redirecting it. For the nose I decided to do a candy corn and it turned out so cute you guys!! I accented that at the end too. It helps to define the nose from a distance so it doesn't get washed out. There were a dozen different ways I could do his mouth but I stayed with the general theme from the snowman side and just added some slashes and x's to complete the scarecrow look. I'm pretty pleased with his adorable little face too!


I decided to put a red band on the snowman's hat and I painted it because I didn't have ribbon wide enough for what I was looking for.  


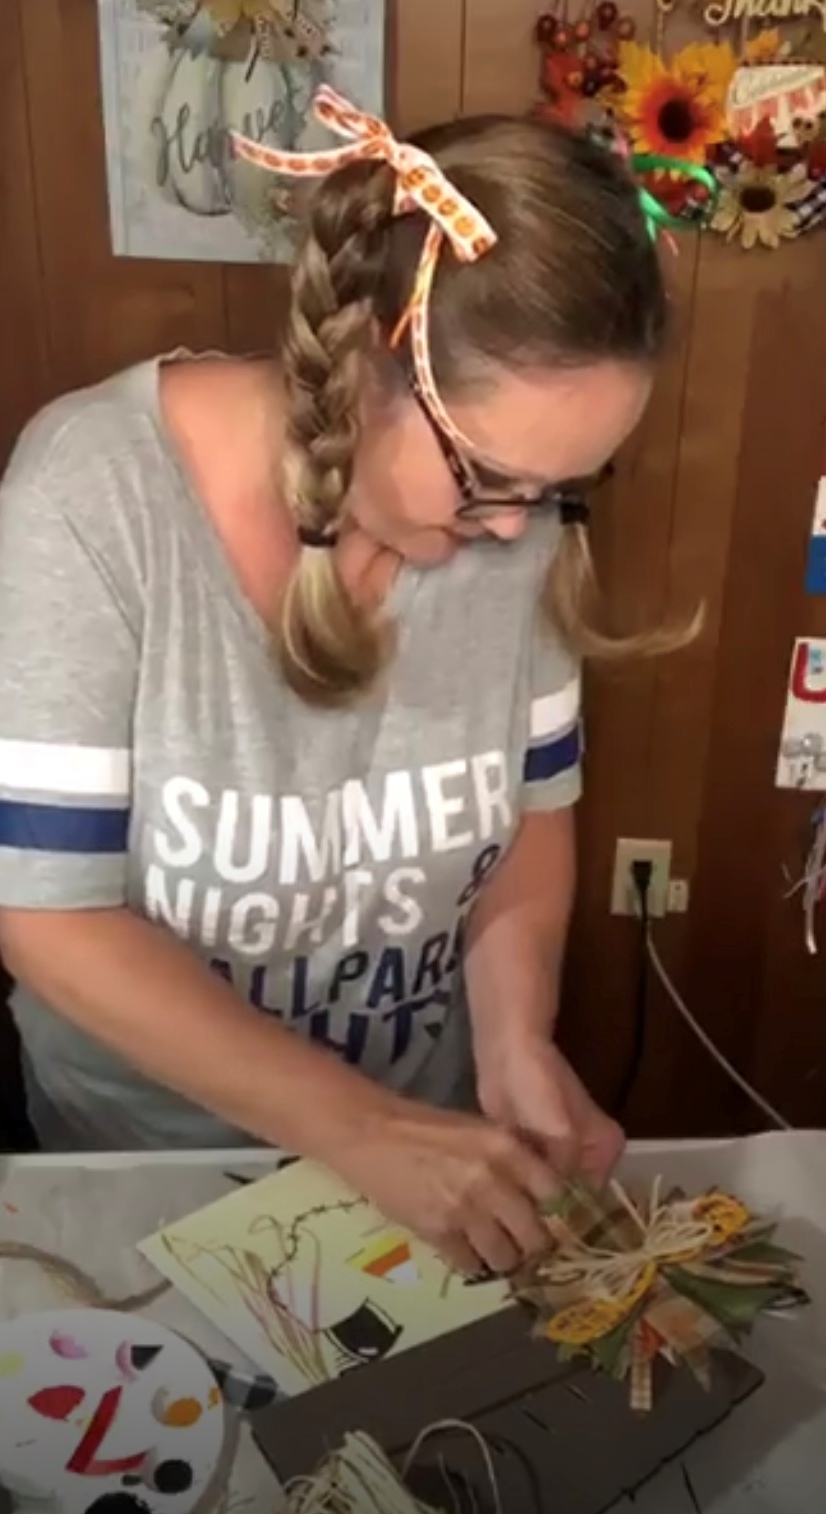
This is where the hiccup started.  I wanted so bad to do a messy bow on one side and a cute bow on the other and I'm really bummed about the hanging issue. I did the messy bow for the scarecrow side using a cute pumpkin ribbon, some checked burlap, a fall leaf ribbon, a green burlap accent ribbon and a small orange buffalo check for accent as well.  Then I put a little raffia bow in the center because I didn't have any fall embellishments that I thought would look cute there. 


When I started the bow for the other side I couldn't figure out why my glue gun wasn't working. I panicked thinking I broke it when I dropped it a few minutes before.  Then I realized it had just come unplugged again.  Story of my life, people.


For the snowman bow I used black and white buffalo check ribbon, red ribbon and a piece of satin ribbon from my wedding back in 2003. Yep, you read that right.  You see, you have to improvise when you go live with these things.  I had a cute roll of HO HO HO ribbon that my mother in law got me for my birthday (love that she supports my craftiness!).  It was red with white letters.  Well when I unrolled it I discovered that the red was not part of the ribbon! It was just tissue paper! So the ribbon was just the white HO HO HO letters and oh my goodness is it CUTE!!!  But I wasn't using that in my bow, so that's where the satin substitution came in. This was a lot simpler bow so it didn't take as long. However, the satin is a little harder to work with than your average ribbon so it's not as 'clean' as I'd like.  Next time I'll be sure to have a good white ribbon.  And by the way, after I finished the craft I found some cute white ribbon in my Christmas stash so I may redo that bow! 


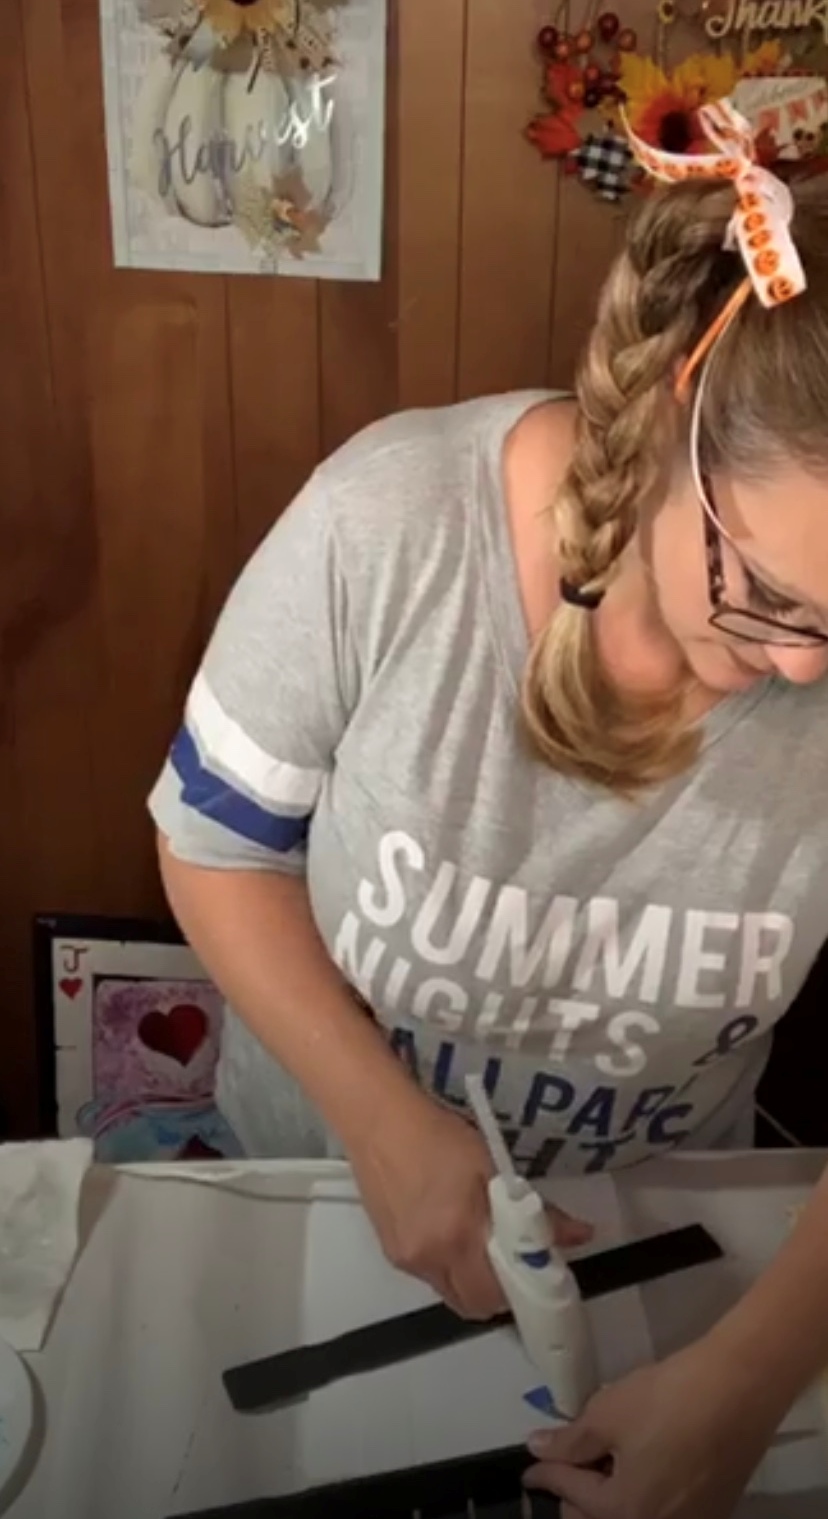
I adhered the bows with hot glue, making sure to put a few dabs under the ends of the bow, not just the middle, to make sure it stayed put. I also added some snowflakes to the snowman's bow and hat, some raffia (hair) to the scarecrow, a 'scarf' (piece of ribbon/jute) to their necklines along with another bow and some fake snow to the snowman's hat.  I also added a couple patches to the scarecrows hat with burlap scraps. I put a little light spackling in with the white paint for the snow to give it dimension but I didn't use enough so it just looks like white paint. That's ok too.  But I may go back and try to get it to look a little more textured later. After adding the raffia hair I didn't like the way it looked because of how I had to glue it so I also added a piece of jute (rope) to cover the glue.  It was a cute accent in the end.


The live ran over 3 1/3 hours and I don't know if my internet gave up on me or if FB decided I was too long winded.  So the little box frames were the last step and unfortunately, not on camera. I just painted it white on one side and ivory on the other, lined it with a ribbon to match whatever side was showing (winter/fall), added a little hand written card stock paper sign and a little embellishment for each side. It's cute with or without the sign but I had to get it when I saw it for $2.99 (plus 40% off). Ha! 

This was a really fun craft and it turned out so cute! Don't you think?? As usual, some lessons learned for next time and hopefully we can cut the time down a little.  I'm a little OCD, a little perfectionist, a little never satisfied, so it is SUPER hard for me to just stop when I'm crafting.  It's like I have 3 new ideas per minute and I can't make up my mind.  Ha!  I'm really loving this one and I can't wait to make more! I may even attempt some smaller ones as well.  

Thank you for stopping by my blog today and taking the time to read about this little adventure! I hope you liked it and I hope if you make one of your own you'll stop by my Facebook Craft Page and share some pics! I love seeing how crafty you call can get! 

Don't forget to subscribe to this blog so you can get notifications when I post about my newest craft adventures! I would absolutely love for you to share this and my craft page with all of your crafty friends and family as well! You can do that by clicking any of the links at the bottom of this blog for your email contacts and your social media platforms, like Facebook, Twitter and Instagram. Thank you, again, for supporting me and all my crazy crafty ideas!! I can't wait for the next adventure!