Showing posts with label arts and crafts. Show all posts

Friday, September 4, 2020

Cowboy Wreath

 A Friday Two-fer!! Ha ha! Hello again guys! There's a long, holiday weekend ahead and I'm hoping to get MORE crafting in so I wanted to give you all the details of the Cowboy wreath, since I didn't do this one live.  Once again, I may change it up. But here is what I have for now.


I have been seeing these adorable cowboy wreaths on Pinterest and Facebook for a while and wanted so bad to make one!  I've really only attempted a wreath one time and it wasn't anything like this. In fact, it was completely different. It was for Halloween (hint: future craft will entail recreating this particular Halloween wreath, so stay tuned!).  I knew it would be challenging and more importantly that I'd have a hard time deciding what I wanted to do, so I did not do this in a live video.  I stretched it out over a few days and spent approximately 7 hours creating and recreating until I finally settled with this! 

I used a wreath form from the dollar tree, fabric (in place of ribbon because it's cheaper), one roll of burlap checked ribbon, a roll of lace ribbon, raffia, flowers, some other sprigs and embellishments, a 'blessed' sign, burlap, an old pair of my sons size 6 pants, pipe cleaners, a straw hat and some twine. 

I started by assembling some bows and gluing a flower in the center (You'll see the flowers in the finished product photos).


I tried to do a little math, which is really unlike me when I'm crafting, to make sure I'd have enough ribbon/material to make 8 bows.  I think I cut the material and ribbons about 8" each, or so.  After cutting the ends they are probably closer to 6". Before adding the flowers, I attached the bows to the wreath form with pipe cleaner.  My brain was going in a million different directions as to how I would fill the gaps. I didn't want to use mesh.  I didn't have enough ribbon to make more bows unless I changed them up and I didn't want to overcrowd with the bows and not have room for the other embellishments.  Which would also cause me to cut and waste a lot of ribbon. So I stuck with the 8. 


I don't know if it was because I was crafting in the evening after long, crazy stressful days at work or what, but I couldn't make up my mind on anything with this craft! Every idea I had and tried, pretty much failed and I was ready to give up a dozen times, at least.  I wanted cotton stalks. I wanted wheat stems. I wanted lots of burlap. I even wanted to add a lasso but ditched that idea because it was just too much in the end.  After adding burlap all the way around in one long piece, which took over an hour, I removed the whole darn thing and cut all that burlap into strips.  I made a little messy bow type things out of it and added that all the way around to fill in the gaps.  I wish I'd made the blue buffalo check ribbon under the flowers longer so it was more visible.  I wish I had more ribbon, something off white and wide with a wire.  I wish I'd used only lighter colored flowers.  I wish I had used a different color pipe cleaner.  And I wish I'd bought a bigger wreath form.  Regrets aside, I love the color scheme and I'm not completely disappointed with the outcome.  There's still room for improvement, for sure.


I cut the jeans shorter hoping to make the 'cowboy' appear to be smaller but I hung the jeans too low. If I'd hung them higher so the groin section of the jeans didn't show so much, they would've looked better, I think.  By the time I realized that there was way too much going on and I couldn't change it.  I hot glued some raffia inside the pant leg before tying it off with a piece of twine.  Then I tied 3 pieces of ribbon around it and made a bow with each of the 3 different colors/patterns. 

The hat was the part I had the most fun with! I couldn't find a 'cowboy' hat the size (or price!) that I wanted so I made one out of a straw hat from Michael's.  I used floral wire to secure it and even a dab or two of hot glue. Hot dang! It looks like a cowboy hat now, eh?! Ha! Close enough!


I wanted it a little off center. I'm really not sure why.  I just had this sort of nagging thought of making it 'my own' by not being symmetrical with everything and just going with my gut and winging it. How's that for an explanation!? I added some burlap patches to the knee, a few pieces of tied up raffia throughout the wreath as well as some wheat stems, cotton stalks and little round, stemmed embellishments in white and blue.  You know, splash of color?  I don't know but it sounded like a cute idea.  I secured the hat in a few places with twine.  I had to use my handy dandy pokey tool to make a little hole because the wicker (or whatever that's made of) wasn't cooperating with my weak little piece of twine. But she's secure now! In the end the only thing that I didn't care for was the empty space on the top left side. I wouldn't have had this problem if the wreath form was bigger.  I couldn't go all the way around with the ribbon/bows and flowers because the hat would've just covered them up.  I didn't want anything under the hat so this made it look kind of bare and empty on that corner.  I grabbed my little 'blessed' sign after tripping over a plastic bag handle and nearly killing myself on the corner of my craft table, catching myself while accidentally knocking that sign to the floor. So that sign...was a 'sign' and therefore became a necessary part of the craft. 

All in all it really didn't turn out bad at all.  It's cute.  And as always, there's room for improvement.  Never be afraid to try new things.  And don't dwell on mistakes.  Almost everything in the crafting world can be fixed, changed or replaced. Part of the joy of crafting is learning.  If you saw the mess I created in the first couple hours of this project I think you'd be shocked at how it turned out! Ha!! 

Thank you so, so much for stopping by my blog today and sharing in my adventures! Don't forget to subscribe so you don't miss any updates or new blog posts! Stop by my Facebook Craft Page for more crafty fun and be sure to invite your friends to do the same! I would love to see more craft people joining in on our live adventures and sharing their own crafty ideas!

Until next time, crew.  Have a wonderful holiday weekend and HAPPY CRAFTING!!!!


Sunday, August 16, 2020

Harvest framed pumpkin hanger

Happy Sunday, y'all! I don't know about you but I like to get stuff done on Sundays! You know, stay productive. I work a full time job Monday through Friday so I have little time left on the weekdays for the stuff I really want to do, like crafting!  Today, I decided to take a shot at the calendar craft. 


A month or so ago I found a ton of the Dollar Tree calendars. They didn't have the one with the trucks and if I had thought about it, I would've bought several of this one. Hindsight is 20/20 right!? I saw some other crafters doing similar things with their calendars and today I made one my own!


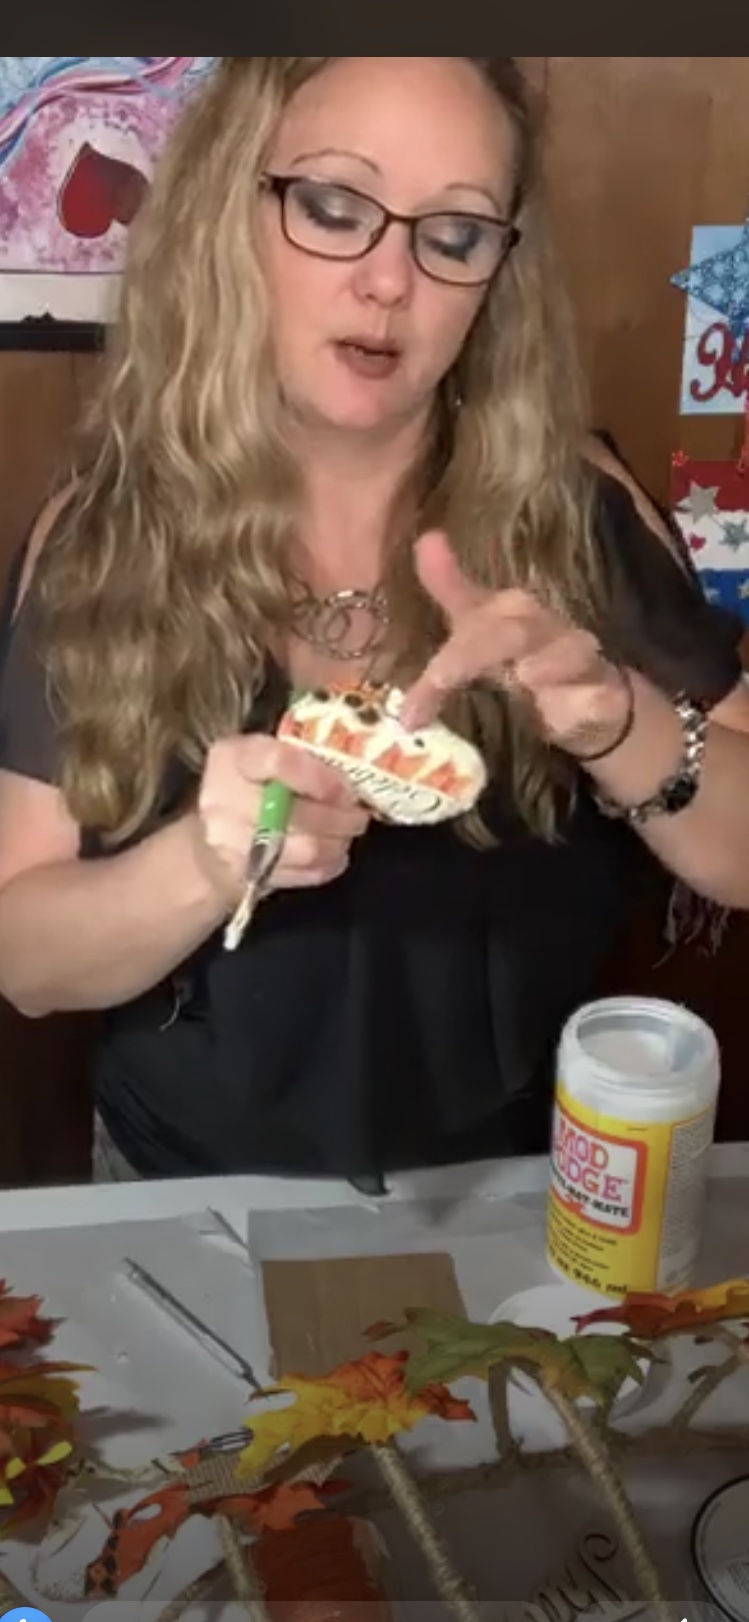
I also bought some square signs that were the same size as the calendar pages. I sanded the sparkles off and painted the whole thing black. The reason I did that was because the numbers on the other side were visible through the lighter part of the pumpkin picture. Then I used Mod Podge to glue the photo to the square. There were quite a few wrinkles so I took a paper towel and sort of rubbed the wrinkles out the best I could. 


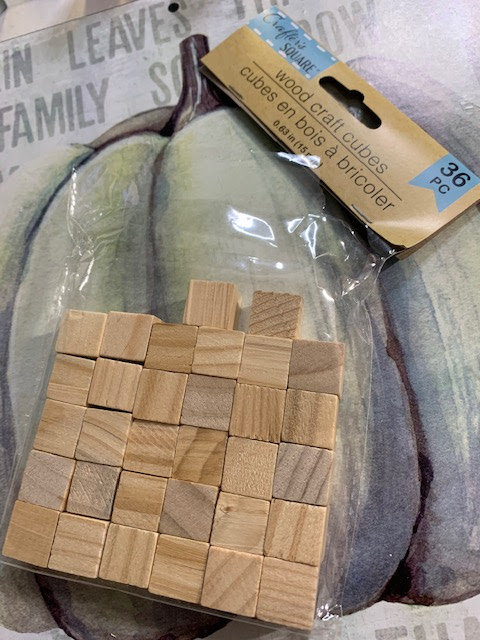
Some wrinkles were too stubborn so I gave up.  I figured I'd find a way to cover it or draw attention elsewhere. To frame it I used the mini Jenga blocks from Michael's. I mixed up some paint to go with the color scheme in the photo and painted the blocks. 


I had a small issue when I was putting the frame together. In trying to fit 5 blocks across the bottom, it wasn't enough to make it all the was across. But if I used 6 it was too many. So I improvised. I had some square wood pieces that solved that issue. The only problem was that it was not the same thickness as the Jenga blocks and it stuck out more. 


I racked my brain trying to come up with a way to either hide that one block or at least disguise it. I decided to add a few more embellishments and just make it work! I glued a few pieces of twine on it to look kind of like part of a fence or something. Then I cut out a cute little truck from a piece of fabric and glued it to a burlap leaf. I also added a little sprig of white flowers. I used a few sprigs in the bow to tie it all together. 


The bow was fun to assemble! I went through my ribbon and chose a few that matched the color scheme, some burlap, a blue and white one and a thin brown one for accent. 


Before I adhered the ribbon I attached some twine for hanging. I used the holes that were already in the square. I had removed the twine that came with it because I felt it was too short. I tripled the strands for stability. The blocks made it a little heavier than I thought they would and I didn't want it falling apart! I also wrapped a little piece of twine around the center of the bow and attached it to a piece of twine on the back that was part of the twine I used to hang it. More stability!! Then I hot glued the bow in place. 

The final touch was to put a few splashes of the paint I mixed for the blocks on the pumpkin in the photo to pull it all together. I probably didn't need to do that but i wanted to.  And lastly, the little metal 'harvest's sign. I glued that on with hot glue. I played with the placement for a few and thought it looked best at an angle. 

Thank you so much for stopping by and reading my harvest framed pumpkin hanger post!! I hope you like how it turned out! Please let me know if you try this or something similar. The Dollar Tree calendars are so cute! 

Hop on over to my Facebook Craft Group page to see some of the crafts I've done live. This particular one I did not do live but there are several others and they're super cute! Be sure to like and share and invite your crafty friends and family to share in the fun too! I really appreciate the love and support and as always, I can't wait for the next crafty adventure!!!


Friday, August 14, 2020

Pumpkin wire form hanger

 That title is a mouth full, eh? Ha ha ha! Seriously, this was another super fun craft!! I had so many ideas that I had to post a poll on my Facebook Craft Group page so my crafty followers could help me decide!  One idea I had was to put two wire forms together to form one big pumpkin and create some type of stand to display it on my kitchen table.  I may still do that because I have more forms.  But for this craft I decided to make it a hanger.  Maybe down the road I'll create some type of stand for it using the mini Jenga blocks!  Stay tuned for that!! 


My inspiration for this one came from a couple different places.  One of the crafters I watch had posted a craft with the metal pumpkin wire forms and then I saw it popping up in some groups I follow on Facebook.  I decided to give it a whirl and of course, make it my own.  I had a super hard time finding the wire forms so a couple awesome friends picked some up for me.  Super awesome girls!! Love them!! I ran to Hobby Lobby and picked up a few more embellishments and even stopped at Dollar Tree again and picked up some small pumpkins, which I didn't end up using. Oh well. I'll find a way to use them, promise! 

Here are some of the supplies I used:


I wanted to cover the wire in jute knowing it would be a lengthy and daunting process.  It took about an hour.  That's not as bad as I had anticipated!! I wound the jute around each piece of wire, hot gluing as I went to reinforce and make sure that if a piece of jute came loose, the whole thing wouldn't just fall apart!  


Much like the splatter screen pumpkin, I wanted to add flowers and leaves to the bottom.  I arranged them on the table in front of me to try to get an idea of where I wanted to place them. I didn't want to just start gluing them on all willy-nilly.  He he! Here's the thing.  I don't want anything I create to fall apart.  I LOVE glue.  But often times it's extremely hard to remove without damaging the craft.  I only had so many leaves to work with and jute isn't always forgiving either!  One by one I got the leaves where I wanted them, sneaking in a couple of the buffalo check leaves and the burlap leaves.  I was so excited to use those!! The leaves were very vibrant and good quality. I got those at Hobby Lobby for $2.50 a twig.  I know that's not the proper name for it, but it wasn't a bag, ok? They were better than the ones in the bag.  Kind of a velvet texture, almost.  I had a little wooden pumpkin that I wanted to incorporate so I covered it with fabric that I also found at Hobby Lobby, on clearance!  I managed to get the words almost perfectly displayed when I glued it down, much to my amazement! I added little green floral wire vines around the stem too! I even covered the little stem with twine, to match the stem on the bigger pumpkin. It's the little things, folks.


The bow was a little bit of a challenge.  I've never made a decent bow in my life!  However, I watched several people online using a bow maker so I decided to make my own!  I bought one of those long, rectangular decorative box frames from Dollar Tree (see the one pictured above in the supplies photo that says 'Harvest Blessings').  I painted over the stock photo with white chalk paint, drilled a couple holes and then painted to fit my fancy.  I glued wooden dowels in the holes and added a green pipe cleaner.  Don't ask.  I mean, it's kind of there to cover up all the hot glue I had to use to keep the dowels in place. Don't judge me. I'm not one to use a ruler or measuring tape often so it's not perfect.  But I did add lines for guidance so I'm not a complete flake. 


I  decided to use some decco mesh on the back of the bow which wasn't entirely a good idea, but I made it work! In hindsight I should've used a little more of the larger decorative ribbon instead. All in all it turned out cute, I think. And that bow maker...worked like a charm! I know it's not as fancy and functional as the one you can buy but it worked for me!! 

I found some little sunflowers I bought a while back and decided to add a few to the frame.  They just twisted on so I knew I could take them right back off if I didn't like them. It works!! So I left them. 

Another fun, super cute craft in the books.  Thank you to everyone who voted in the poll to help me decide which one to make.  Here is the sketch I drew of the different ideas I had.  Again, I may still make the table top one but I'll have to experiment a little with that too.  So I probably won't do that one live.  Unleeeeesssss I give it a Halloween vibe!!! Ooooohhh! Now there's an idea!! 


Next craft will probably be the witch hat.  You'll have to jump over to my Facebook Craft Group page for more details!! I found out about something super cool that we can do with that witch hat that is not Halloween related at all!! So excited!

Thank you once again for stopping by my blog and being a part of my crafty adventures!  I can't wait to get started on the next one!! 

Happy crafting!!