Happy Sunday, y'all! I don't know about you but I like to get stuff done on Sundays! You know, stay productive. I work a full time job Monday through Friday so I have little time left on the weekdays for the stuff I really want to do, like crafting! Today, I decided to take a shot at the calendar craft.

A month or so ago I found a ton of the Dollar Tree calendars. They didn't have the one with the trucks and if I had thought about it, I would've bought several of this one. Hindsight is 20/20 right!? I saw some other crafters doing similar things with their calendars and today I made one my own!


I also bought some square signs that were the same size as the calendar pages. I sanded the sparkles off and painted the whole thing black. The reason I did that was because the numbers on the other side were visible through the lighter part of the pumpkin picture. Then I used Mod Podge to glue the photo to the square. There were quite a few wrinkles so I took a paper towel and sort of rubbed the wrinkles out the best I could.


Some wrinkles were too stubborn so I gave up. I figured I'd find a way to cover it or draw attention elsewhere. To frame it I used the mini Jenga blocks from Michael's. I mixed up some paint to go with the color scheme in the photo and painted the blocks.


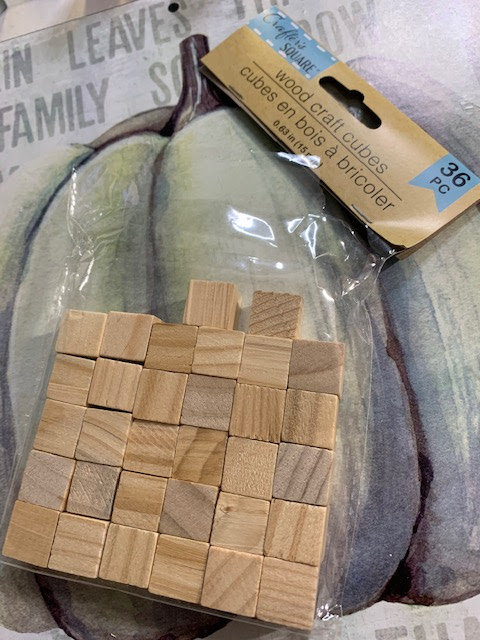
I had a small issue when I was putting the frame together. In trying to fit 5 blocks across the bottom, it wasn't enough to make it all the was across. But if I used 6 it was too many. So I improvised. I had some square wood pieces that solved that issue. The only problem was that it was not the same thickness as the Jenga blocks and it stuck out more.

I racked my brain trying to come up with a way to either hide that one block or at least disguise it. I decided to add a few more embellishments and just make it work! I glued a few pieces of twine on it to look kind of like part of a fence or something. Then I cut out a cute little truck from a piece of fabric and glued it to a burlap leaf. I also added a little sprig of white flowers. I used a few sprigs in the bow to tie it all together.

The bow was fun to assemble! I went through my ribbon and chose a few that matched the color scheme, some burlap, a blue and white one and a thin brown one for accent.


Before I adhered the ribbon I attached some twine for hanging. I used the holes that were already in the square. I had removed the twine that came with it because I felt it was too short. I tripled the strands for stability. The blocks made it a little heavier than I thought they would and I didn't want it falling apart! I also wrapped a little piece of twine around the center of the bow and attached it to a piece of twine on the back that was part of the twine I used to hang it. More stability!! Then I hot glued the bow in place.
The final touch was to put a few splashes of the paint I mixed for the blocks on the pumpkin in the photo to pull it all together. I probably didn't need to do that but i wanted to. And lastly, the little metal 'harvest's sign. I glued that on with hot glue. I played with the placement for a few and thought it looked best at an angle.
Thank you so much for stopping by and reading my harvest framed pumpkin hanger post!! I hope you like how it turned out! Please let me know if you try this or something similar. The Dollar Tree calendars are so cute!
Hop on over to my Facebook Craft Group page to see some of the crafts I've done live. This particular one I did not do live but there are several others and they're super cute! Be sure to like and share and invite your crafty friends and family to share in the fun too! I really appreciate the love and support and as always, I can't wait for the next crafty adventure!!!


No comments:
Post a Comment