Hey there, beautiful!
First of all, THANK YOU! Thank you for stopping by to read my blog that is very much still in the beginning stages and clearly in need of some TLC. Ya gotta start somewhere, right?
Today I want to go over the fun project I did in my Facebook group last night. But first, a few thoughts.
I am a married mother of both adult and dependent children, a grandmother, a full time worker outside of my home, as well as a human being with a gigantic heart and a dreamers mind. I have always been one to wear my heart on my sleeve, overthink everything under the sun and feel deeply, even if the burden isn't mine to bare. In my short 45 years I've learned a lot about myself and have learned to deal with things a little differently, for the most part. But I still have that worry wart, that over thinker, that peacemaker in my soul. I know that I am only one person and surely not the only one of my kind. I'd like to believe we all have a big hearted dreamer in us. When the weight of the world, or maybe just the weight of the day is making life difficult I'm fortunate that I have someone to talk to and somewhere safe to bare my soul. But sometimes, I recognize that he has burdens of his own that he's trying to overcome. So I try not to lay my weight on him but instead, find another outlet, another 'safe place' to help nurture my mind. I pray, I hold my breath a little and I chose to move forward because nothing good can come of moving back or standing still. For the sake of contradiction I will also confess that I don't really need a reason to craft. But it's definitely my saving grace in times of heartache. I craft to have fun, I craft to bide time, I craft to release tension, I craft to set my heart free. I am Samantha, married mother of both adult and dependent children, grandmother, full time worker, super loving human being, dreamer and crafter.


I got the idea for this project from watching a really awesome girl named Amber. She always encourages her followers and is very educated in all things crafty. I truly believe everyone has a style or a way of thinking that fits their vision of themselves. My vision of myself changes constantly but the one thing that always remains the same is that I just want to love and be loved in return. In some ways I feel that need to be loved is like that of a child. While I'm not a psychologist, I think that need probably stems from my own childhood. I'll be vague for the time being and just say that when it was good, it was amazing and beyond compare. And when it was bad...well, it hurt me in ways I'll likely never overcome. My art tends to reflect the love of a child, or so I see it. I joke and say I my style is like elementary school art. But what I see when I create something, is good. I see love, happiness, peace and giggles wrapped in a big bear hug. Art makes me feel good. And to me, that's all that matters.
I wanted to attempt this little 3 tier tray because I thought it would be perfect for my jewelry on my dresser. I'm organized in a few areas in my life. My dresser is not one of them! I decided to take a little different approach but still hold on to the same concept of saving money and creating something tangible. I didn't just want to make it and have it sit on a shelf never to be seen or utilized. I wanted a functional piece. And I couldn't wait to have fun making it my own!
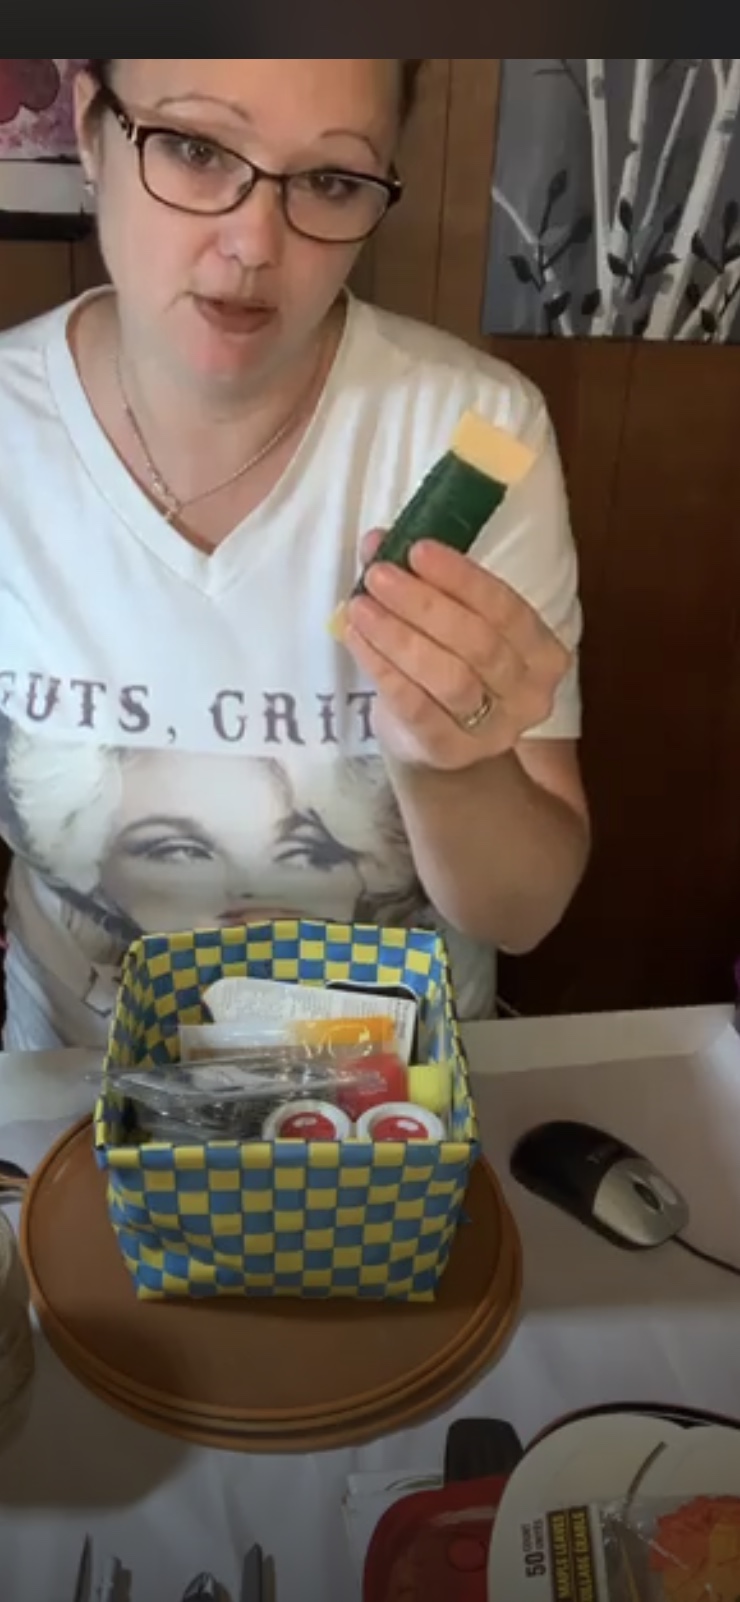
I'm not a professional by any stretch so there wasn't anyone there with an amazing camera to take pictures. I took some screenshots from the live video so I could show you as I tell you how this cute little shelf came to fruition. I had to flip all the shots because I still haven't figured out how to get my live video to record from my front facing camera without showing everything backward.
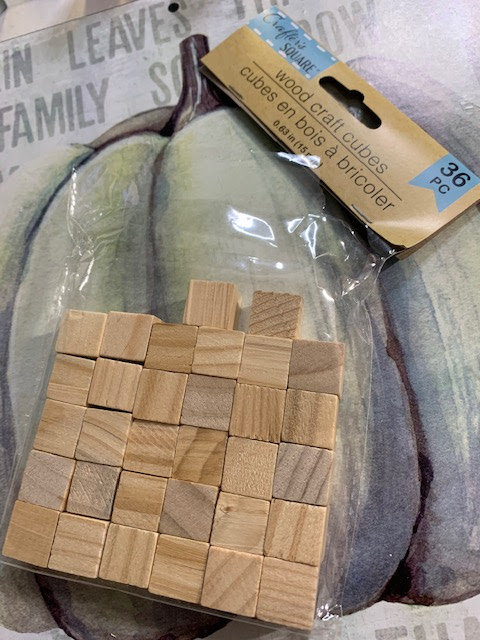
I prepared a little in advance so the video wasn't quite as long as my videos tend to be by painting the leg pieces first. The leg pieces are mini Jenga blocks. Seriously. Michael's had them for $.58 online. I used 6 blocks for each leg. I painted them with white acrylic paint and then coated lightly with Waverly wax in an attempt to protect the paint from getting scratched. I'm a novice here so I didn't know it would have a yellow-ish finish. I'm ok with that this time because it doesn't clash badly with other colors used in this project.
I realized in the first few minutes of the project that my next purchase is going to have to be a better glue gun. This one is too small for this type of craft and wouldn't stay hot long enough. I made do with it this time but I may have to reinforce once I get a better gun!
For the trays I used Dollar Store frames. They are about 6x6" though I didn't actually measure because I left my measuring tape upstairs during the live video. Originally these frames had a little embellishment in the center that said "A spoiled dog lives here". That embellishment popped right out. It tore the paw print paper under it a little but that was ok because I was covering it up with this cute chevron-like paper that I found at Joann's.
Don't worry. I won't quit my day job to try and become a photographer! Remember, these are screenshots from a live video. Sorry about the quality.
As you can see from the photos I just posted, the frames were unfinished wood. I decided to paint them pink, to match the theme of the paper. I painted the inside walls white to give it some depth. It's a shadow box frame so it does have depth. But the white kind of makes it pop a little more, I think.
After painting the frames I cut the chevron paper to fit inside and cover the existing puppy print paper. This was a little challenging without that measuring tape! But I did it! No job too big or small for this determined crafty momma! I used mod podge to glue the paper down and a sponge brush to smooth it down and get all the bubbles out. Not too bad, Sambo.
Assembly was also a big of a challenge. Remember how I told you I need to invest in a better glue gun? Yeah, well, no more wood assembly without one, that's for sure! The legs were coming unglued left and right and I felt like I spent twice the amount of time I should've getting it intact. But eventually, everything was sturdy and I was able to stand it up on end successfully!


Now I needed to decide what kind of embellishments I wanted to use to dress up the outside of each shelf. Just painting it pink wasn't enough for this super busy girl! I could've spent hours 'decorating' this cute little thing. But I tried to keep it simple. I went through a bunch of stuff I gathered together and came up with a flower, the word 'Love' and a little framed phrase. This was kind of tough because I had a LOT of ideas floating through my head. As you can see from the pictures, it was kind of driving me crazy! The flowers were silk and I put a little button in the center to accent. The word 'Love'...well, that is just how I feel about it, ok?! And the framed phrase was cut out of another piece of paper and I backed and framed it with two different colors of paper to make it pop a little. I even used my edging sheers to make a cute border cut.


All in all it was a fun and cute little project. It took around 2 1/2 hours to complete but I'm not gonna lie...I'm proud of myself! This could've easily been one of my 6 hour projects!! And I may just end up spending a little more time on it because I have ideas that involve ribbons that may help reinforce those legs!! My dresser is dark so this really doesn't match, but that's ok! Because I know have a cute little nesting place for all my earrings, rings and bracelets! Well, almost all of them. I think I'm actually going to make a second one so it's not quite so cluttered and full!! I still have 2 jewelry boxes, a porcelain dish and 3 jewelry bags with stuff in them! Thanks, Paparazzi!!

Once again, thank you so much for joining me on this crafty journey! I had a lot of fun and look forward to the next crafty project in the next couple weeks. Maybe this wasn't quite your style. But if I could do anything for you, I hope I entertained you. Thank you for supporting my ideas, sharing your valuable time and ideas, and spreading the love!!!
Until we craft again...
Sambo